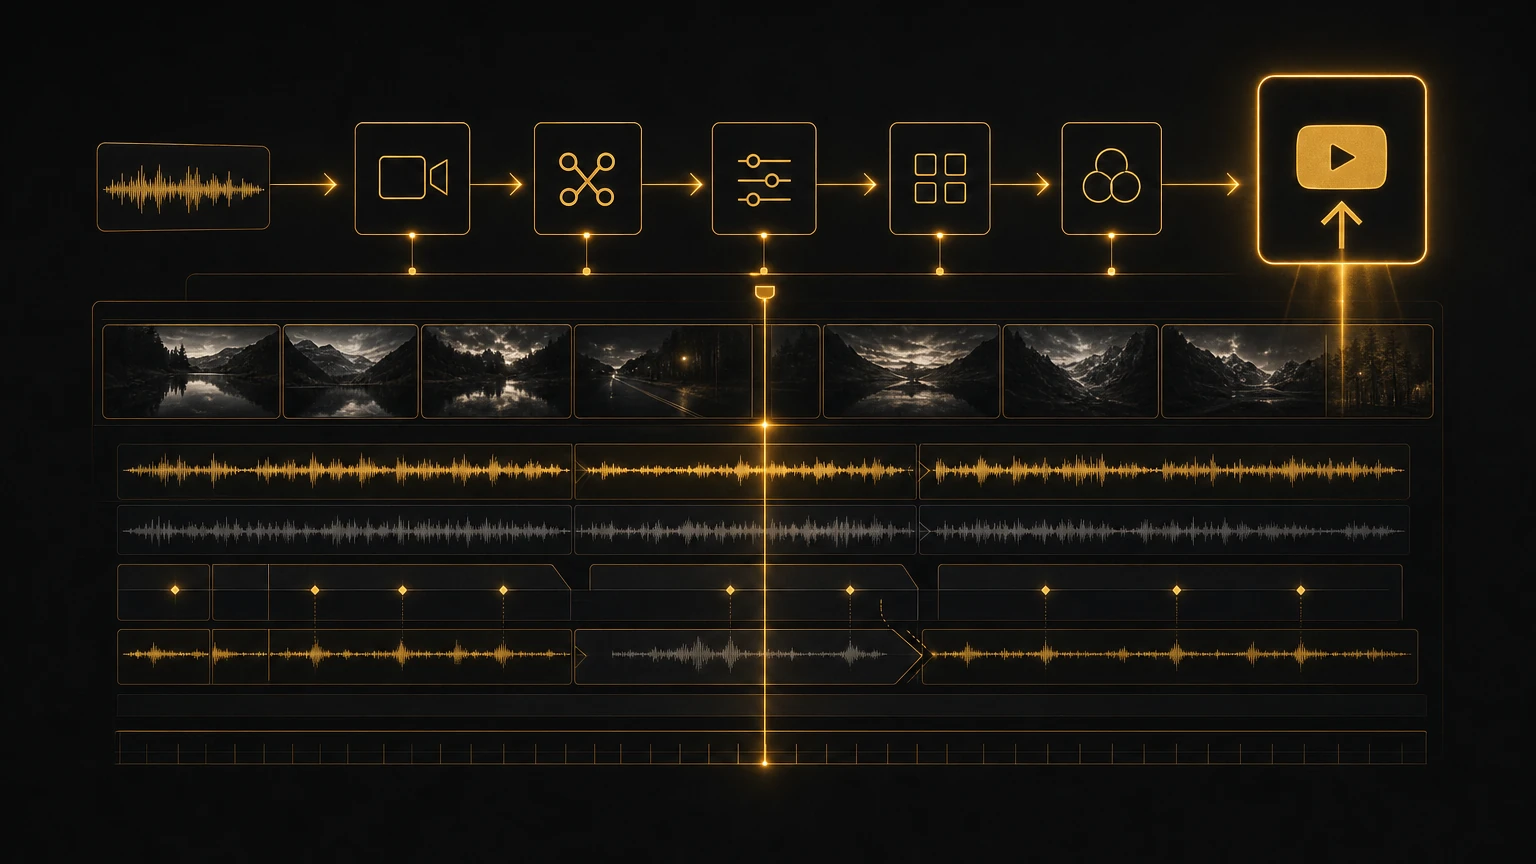
The YouTube Editing Workflow for Top Creators
I once spent a stretch editing for a YouTuber with a large, established channel. On day one he sent me his Premiere project template and said, "Use this. Do not change the structure." That template taught me more about YouTube editing than any tutorial I had ever watched.
It was not about effects or color grading. It was about the architecture of attention. Every track, every marker, every labeled section existed because at some point the data showed him that viewers dropped off if he did not do things a certain way.
YouTube editing is not documentary editing and it is not corporate editing. It has its own grammar, its own rhythm, and its own rules, and they all come from one place: the audience retention graph. Here is how top creators structure their timelines to keep people watching.
The Hook: The First 15 Seconds Are Everything
I cannot overstate how important the opening hook is. The retention graph for most videos looks like a cliff. You typically lose a big chunk of your audience in the first 30 seconds if the hook does not land. The hook does not decide whether people like your video. It decides whether they ever see enough of it to form an opinion.
Top creators handle hooks a few different ways, and I see all of these regularly:
- •The cold open. Start with the most interesting moment, a surprising result or a big reaction, then cut back to the setup. Start with the explosion, then show how you got there.
- •The direct address. The creator looks at the camera and says something personal or provocative. It is intimate, slightly uncomfortable, and it opens a gap the viewer wants to close.
- •The pattern interrupt. Open with something visually or audibly unexpected that breaks the scroll and scan rhythm of browsing and forces the brain to pay attention.
Pro tip: The hook should almost never be an introduction. "Hey guys, welcome back to the channel" is a retention killer. Do the intro after the hook, once people have already decided to keep watching. The first 15 seconds are for attention. Context comes second.
Finding the right hook used to mean rewatching all my footage and trusting my gut. Now I let AI Editor scan the raw footage and flag the highest energy moments, the laughs, the surprises, the strong reactions. It does not pick my hook for me. It shows me candidates I might have missed, and when I am cutting through two hours of talking head footage that saves me serious time.
Jump Cut Pacing: The Rhythm of Modern YouTube
If traditional filmmaking is jazz, smooth and flowing, YouTube editing is drum and bass. Sharp, rhythmic, constantly hitting. The jump cut is the fundamental unit of YouTube grammar, and mastering it separates professional YouTube editors from everyone else.
Jump cuts work because they match how people actually watch. Viewers are holding phones, surrounded by distractions, one swipe from infinite other options. Dead air is not just boring, it is an invitation to leave. A cut every two to four seconds keeps the brain engaged.
Here is how I structure jump cuts on a typical talking head:
- •Cut out every breath and every pause longer than half a second. Yes, every one. It feels extreme coming from traditional editing, but it makes the delivery feel faster and more confident than it actually was.
- •Cut on emphasis. When the speaker hits an important word, cut to a slightly different framing, a punch in or a reframed shot, to punctuate the moment.
- •Use every verbal stumble as a cutting opportunity. I do not just remove the filler word, I use it as a transition into a better take or a more interesting angle.
- •Vary the rhythm. Constant two second cuts feel mechanical. Occasionally hold for four or five seconds on something important. The contrast makes both the fast and slow moments land harder.
The jump cut is not lazy editing. It is a deliberate style with its own rules. Done well it creates energy that keeps people in their seats. Done poorly it looks like you do not know how to edit. The difference is intention.
B-Roll Integration: Show, Do Not Just Tell
YouTube viewers tolerate surprisingly little talking head footage. Even when the creator is charismatic, the eye wants variety. B-roll is not decoration here. It is survival.
My standard YouTube timeline runs five video tracks minimum:
- Track 1: primary A-roll, the talking head.
- Track 2: secondary A-roll, an alternate angle or safety cam.
- Track 3: B-roll, illustrative footage, screen recordings, product shots.
- Track 4: graphics and text overlays.
- Track 5: stock and photo cutaways for visual variety.
The rule I follow: never more than five to eight seconds of uninterrupted talking head. If the speaker runs longer than that without B-roll, something has to cover it. A screen recording, a product shot, a photo with a slow zoom, even a text overlay breaks the monotony.
Timing matters too. B-roll should illustrate what the speaker is saying, but it should lead slightly, starting about half a second before the mention rather than right on it. That creates a J-cut feel and keeps the pacing tight instead of reactive. I get into more of these moves in my interview editing techniques.
For reviews and tutorials I use what I call the see it while hearing it rule. If the speaker says "this button right here," the shot of that button should already be on screen. The viewer should never wait to see what is being described. Anticipation is everything.
Music-Driven Editing: Let the Track Lead
YouTube is more music driven than almost any other format. The right track creates energy, signals emotional shifts, and covers the rhythmic transitions between cuts. The wrong track makes everything feel generic.
I choose my music before I start editing, not after. The track sets the energy, and that energy informs every cut. On an upbeat electronic track my cuts hit on the beat or just ahead of it. On something atmospheric the cuts stretch longer and breathe.
My music timeline usually looks like this:
- •Intro music: zero to five seconds, high energy, dropping to a bed when the hook lands.
- •Bed track: low background music under the whole video, roughly 20 to 25 dB below the voice.
- •Rise points: moments where the music swells, product reveals, conclusions, emotional peaks.
- •Outro music: back to intro energy for the call to action.
The bed serves a practical purpose too. It smooths over jump cuts. A cut that feels jarring in silence disappears into the rhythm of the track. That is why YouTube editors obsess over music. It is not just about mood, it is about making the editing invisible.
Retention Editing: Designing for the Graph
This is the part that feels most alien to editors coming from film. You are not just editing for quality. You are editing for a graph.
The YouTube Studio retention graph shows exactly when people leave. Top creators study it religiously and edit to shape it. In practice that looks like:
- •Pattern interrupts around the one minute mark. Most videos dip at 60 to 90 seconds, when the initial curiosity fades. I add a deliberate interrupt there, a graphic, an unexpected cut, a music change, a zoom, anything that resets attention.
- •A payoff before 30 seconds. The algorithm seems to reward videos that hold retention early, so I structure the hook to deliver a completed thought or a visual reveal quickly, something that makes the viewer feel their time was justified.
- •Study the cliffs. If the graph shows a sharp drop at a specific moment, I go back to that section. Was it too long without a visual change? Did the energy sag? The graph is a focus group of thousands, so I listen to it.
- •An end screen buffer. I never end abruptly. The last 20 seconds wind down, lower energy, direct address, a clear call to action. Cut off before the viewer processes the call to action and you have wasted the opportunity.
Pro tip: When you start with a new creator, ask to see the retention graphs for their last 10 videos. The patterns tell you more about their audience than any creative brief. Some audiences love fast cuts, others prefer longer, contemplative pacing. The graph does not lie about what works.
The Deliverables Game: What Creators Actually Need
YouTube editing does not end with the main video. Most creators need several deliverables from one edit, and the timeline should be built with that in mind.
- •The main video, usually eight to fifteen minutes for most channels.
- •The vertical cut. A 9:16 version of the most compelling 30 to 60 seconds, built on a separate sequence in the same project. The best ones often come from moments that did not make the main video. I break down that process in turning one interview into batch social clips.
- •Thumbnail frames. I export three or four high quality stills during strong expressions or interesting compositions. The thumbnail is half of whether anyone clicks, and as the editor I know which frames have the best composition.
- •Timestamp markers. Many creators want chapter markers in the description. I add them as timeline markers and export them as text.
I build all of these into my project template now. The vertical sequence is set up with the right frame size, the thumbnail export preset is saved, the chapter marker template exists. When it is time to cut and hand off clips fast, a tool like Clip Exporter does the repetitive export work for me. There is a fuller breakdown in my guide to editing deliverables.
Building Your YouTube Editing Template
If you edit YouTube content regularly, you need a template. Here is what mine includes:
- •Pre-labeled timeline tracks: A-roll primary, A-roll secondary, B-roll, graphics, music, SFX, voiceover.
- •Color coded markers for hook start, pattern interrupt points, the call to action section, and the end screen.
- •Pre-loaded essential graphics: lower thirds, subscribe animations, text overlay templates.
- •Music and SFX bins with my go to tracks organized by energy level.
- •Export presets for 1080p, 4K when needed, 9:16 vertical, and 1:1 square.
- •Sequence settings tuned to the creator delivery style and camera format.
That template saves me about 30 minutes on every project. Over a year of regular YouTube work, that is days of my life back. I wrote about building one from scratch in the project template for every edit.
YouTube editing is a discipline of its own. The jump cuts, the music driven pacing, the constant B-roll, the retention graph obsession, none of it is a sign of lower quality work. It is adaptation to a medium where the viewer can leave at any moment with zero friction. Every choice exists to make leaving feel like more work than staying.
If you are moving into YouTube work from traditional editing, the biggest shift is psychological. You are not crafting a perfect viewing experience in a dark theater. You are fighting for attention on a phone screen full of distractions. The tools are the same. The intention behind every cut is completely different.
More from the Cut to the Point blog, including interview editing techniques and my guide to editing deliverables. When you want a tool that surfaces the moments worth cutting instead of guessing, take a look at AI Editor.
Share this article